

Tenant's Success Book: End of Tenancy House Cleaning
Posted on 31/08/2025
Tenant's Success Book: End of Tenancy House Cleaning
If you're approaching the end of your lease and preparing to move out, ensuring the property is spotless is crucial for getting your deposit back. Welcome to the ultimate guide: Tenant's Success Book: End of Tenancy House Cleaning. This comprehensive article will walk you through every aspect of end of tenancy house cleaning, ensuring a seamless transition from tenant to ex-tenant, with your full deposit intact.
Why Is End of Tenancy Cleaning Important?
As a tenant, one of your principal obligations is to leave the rental home in pristine condition. Many rental agreements specify in detail the level of cleanliness expected upon departure. Landlords and letting agents typically conduct thorough inspections before releasing your deposit, using a checklist and comparing the current state to the inventory taken at the beginning of your tenancy.
- Deposit Return: A clean property is critical for a full deposit refund.
- Future References: Leave a great impression for future rentals.
- Avoid Disputes: Proper cleaning reduces the chance of disagreements with landlords.
- Compliance: Abide by your legal responsibilities as a tenant.
End of tenancy cleaning isn't just a nice gesture--it's often a contractual and legal requirement. Observing high standards will help you secure your financial interests and maintain a positive tenant record.
Pre-Cleaning Success Steps
Review Your Tenancy Agreement
Always start by reading your contract carefully to check for any specific cleaning clauses or requirements. Your landlord may expect certain areas to be professionally cleaned (like carpets or ovens), or they may provide their own cleaning checklist. Ignoring these details could put your deposit at risk.
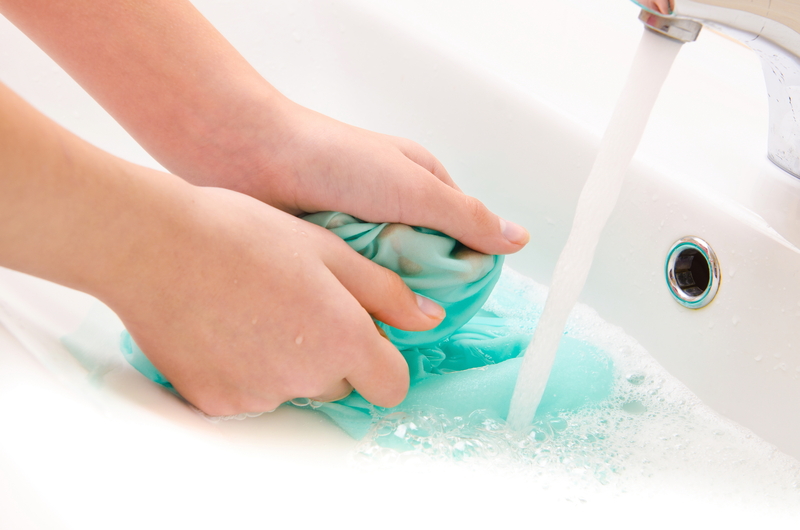
Gather the Right Cleaning Supplies
Being prepared is half the battle. Create a cleaning kit with all necessary tools and products before you begin. Here's a handy checklist:
- Microfiber cloths and sponges
- Multi-purpose cleaning sprays
- Glass and window cleaner
- Oven cleaner and degreaser
- Carpet and upholstery stain remover
- Mop, bucket, and vacuum cleaner
- Toilet brushes and disinfectants
- Rubber gloves and protective wear
Declutter and Remove Personal Belongings
Make sure you remove all your possessions before starting the cleaning process. Empty rooms are far easier to clean and inspect, and they help highlight any areas needing extra attention.
Room-By-Room End of Tenancy Cleaning Guide
1. Kitchen Cleaning Tips for Success
- Appliances: Clean inside and out. Pay extra attention to the oven, hob, extractor fans, fridge, and microwave.
- Worktops and Cabinets: Wipe every surface including cupboards, inside and out. Remove evidence of food and stains.
- Sinks and Faucets: Remove limescale, polish surfaces, and ensure there's no leftover debris.
- Floors: Sweep, mop, and remove all grime or sticky residues.
- Walls and Tiles: Clean grease marks, splash backs, and grout.
2. Bathroom Deep Cleaning at the End of Tenancy
- Toilets: Scrub inside and out, disinfect, and polish to a shine.
- Bath, Shower, and Sink: Remove soap scum, limescale, and hair. Clean taps and faucets thoroughly.
- Mirrors and Glass: Polish for a streak-free finish.
- Floors and Tiles: Scrub and disinfect, paying attention to grout and edges.
- Extractors and Fans: Dust and wipe to ensure efficient ventilation.
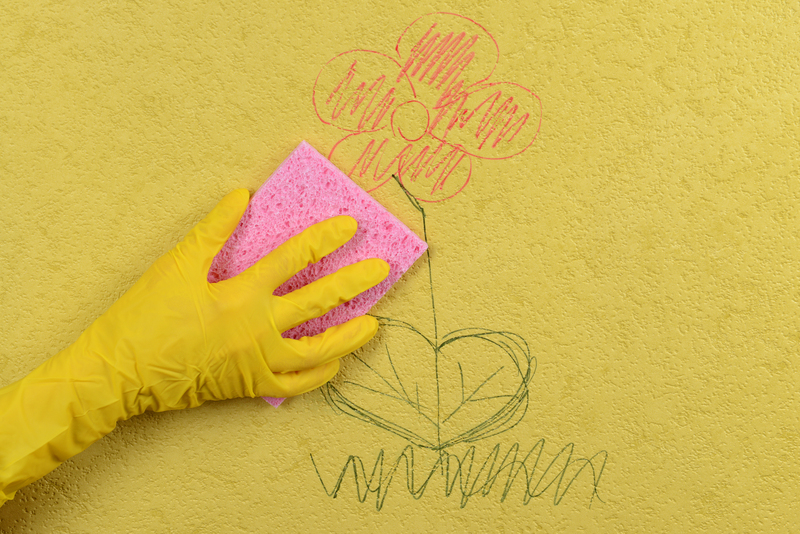
3. Living Room and Common Areas
- Floors: Vacuum and mop. Shampoo carpets if required.
- Walls: Remove marks and cobwebs. Gently wipe down painted surfaces.
- Windows: Clean both inside and outside for clarity.
- Skirting Boards, Switches, and Fixtures: Dust and wipe all surfaces.
- Furniture: Wipe, polish, and vacuum under cushions if applicable.
4. Bedrooms: A Fresh Start
- Wardrobes and Drawers: Empty and clean inside, outside, and the top surfaces.
- Beds and Mattresses: Vacuum mattresses and clean bed frames.
- Windows and Curtains: Clean window panes and wash or dust curtains and blinds.
- Floors: Vacuum, mop, and treat stains as needed.
Often Missed Areas in End of Tenancy House Cleaning
Even the most meticulous tenants sometimes forget certain spots. Remember to:
- Clean behind and beneath furniture and appliances
- Wipe power sockets, switches, and light fixtures
- Dust radiators and heating units
- Polish door handles and cabinet knobs
- Clear dust from vents and extractor fans
- Clean inside wardrobes, drawers, and storage spaces
Pro Tip: Perform your own "final inspection" with a checklist in hand to catch these often-missed tasks before the landlord's walkthrough.
Should You Hire Professional End of Tenancy Cleaning Services?
While a determined tenant can manage thorough cleaning, sometimes the job is best left to professionals. Here are some compelling reasons to consider hiring an experienced end of tenancy cleaning team:
- Time Efficiency: Professionals can clean more quickly and efficiently, especially for large properties.
- Quality Assurance: Most services offer a guarantee that the property will pass inspection, reducing deposit risk.
- Specialized Equipment: Pro cleaners have advanced equipment for carpets, ovens, and deep cleaning.
- Compliance: Some landlords require a professional end of tenancy clean - check your agreement!
If you choose this path, always request a detailed end of tenancy cleaning checklist and a receipt to show your landlord or agent.
End of Tenancy Cleaning Checklist for Tenants
Staying organised is crucial. Here is an easy-to-follow, printable checklist to maximize your cleaning results and ensure deposit success:
- All bins emptied and cleaned
- Windows washed and sills wiped
- Walls checked for scuffs and marks
- All floors vacuumed, swept, and mopped as required
- Appliance interiors and exteriors spotless
- Oven, hob, and extractor filters degreased
- Bathrooms disinfected, grout and tiles scrubbed
- All dust and cobwebs removed
- Furniture wiped and in place as per inventory
- Wardrobes, cupboards, and shelving emptied and cleaned
- Light switches and sockets dusted and wiped
Common Cleaning Mistakes and How to Avoid Them
- Leaving Cleaning Too Late: Start well before your moving date, allowing time for stubborn problems.
- Using Wrong Products: Always check labels to avoid damaging surfaces and appliances.
- Overlooking the Inventory Report: Review it to make sure everything matches the property's original condition.
- Ignoring Professional Mandates: If your lease demands professional carpet or curtain cleaning, keep invoices for proof.
- Neglecting Outdoor Areas: Patios, balconies, and gardens should be cleaned and tidied too!
Eco-Friendly End of Tenancy House Cleaning
Many tenants prefer green cleaning methods to protect both their health and the environment. Simple swaps like using vinegar, bicarbonate of soda, and lemon as cleaning agents can handle many chores without harsh chemicals.
- Vinegar and Water: A natural combo for glass and mirrors
- Baking Soda: Excellent for scrubbing and deodorizing sinks, bathrooms, and even ovens
- Lemon: Cuts through grease and leaves fresh scent
- Microfiber Cloths: Reusable and effective for dusting and wiping down surfaces
When hiring a professional service, ask if they offer eco-friendly or non-toxic cleaning options.
Post-Cleaning: The Final Touches
Inspect and Document Everything
Once cleaning is complete, conduct a thorough inspection alongside the property's inventory list. Take clear, date-stamped photos as evidence--especially of rooms, appliances, and fixtures. This evidence can be crucial if there are later disputes over your deposit return.
Schedule the Checkout Inventory with Your Landlord
- Be present for the final inspection if possible
- Discuss any differences noted versus the original inventory
- Provide professional cleaning receipts if requested
Expert Tips for Tenancy Cleaning Success
- Start High, Finish Low: Work from top to bottom in each room to catch falling dust and debris.
- Spot Treat Stains Quickly: Older stains are harder to remove, so act fast.
- Check for Forgotten Drawers or Cupboards: Hidden spaces often gather dust and dirt.
- Ventilate: Open windows while cleaning to air out chemical smells and speed drying.
- Always Double Check: When you think you're finished, inspect with a critical eye - or better, ask a friend to help.
Deposit Recovery and Your Rights
Despite your best efforts, disputes sometimes occur. Know your rights:
- Deposit Protection Schemes: In the UK and many other countries, deposits must be held by a government-backed scheme - review their processes for disputes.
- Photographic Proof: Submit your cleaning photos as evidence.
- Inventory Reports: Use both the original and final reports to make your case.
- Seek Mediation: If discussions stall, impartial mediation is often available through deposit schemes.
FAQs on End of Tenancy House Cleaning
Can I Do End of Tenancy Cleaning Myself?
Absolutely--but you must clean to a professional standard. Follow an end of tenancy cleaning checklist and use the correct products for each surface.
Is Professional Cleaning Compulsory?
Not always, but many letting agreements require it for carpets or fabrics. Check your lease terms carefully.
How Far in Advance Should I Start?
Ideally, begin cleaning at least a week before your move-out date, especially if the property is large or heavily used.
What If My Landlord Claims the Property Is Not Clean Enough?
Request a detailed list of issues, provide your own proof, and negotiate. Deposit protection providers help settle disagreements if required.
Conclusion: Achieve End of Tenancy Success
The key to successful end of tenancy house cleaning is thorough preparation, attention to detail, and understanding your tenancy agreement. Whether you clean yourself or hire professionals, following a comprehensive end of lease cleaning checklist is essential.
Remember, your goal is not just to clean, but to restore the property to its original state - or better. By using this Tenant's Success Book: End of Tenancy House Cleaning as a guide, you'll maximize your chances of a smooth move-out and a full deposit refund. Happy cleaning, and best of luck with your new home!